- VMware ESXi 위에 설치한 RHEL 8에 LVM을 구성하는 방법입니다.
- RHEL 설치 과정에서는 / 디렉토리에 100GB 밖에 설정하지 않았기 때문에 1단계 HDD 추가 장착, 2단계 추가 장착된 HDD를 서버에 마운트 하는 절차가 필요합니다.
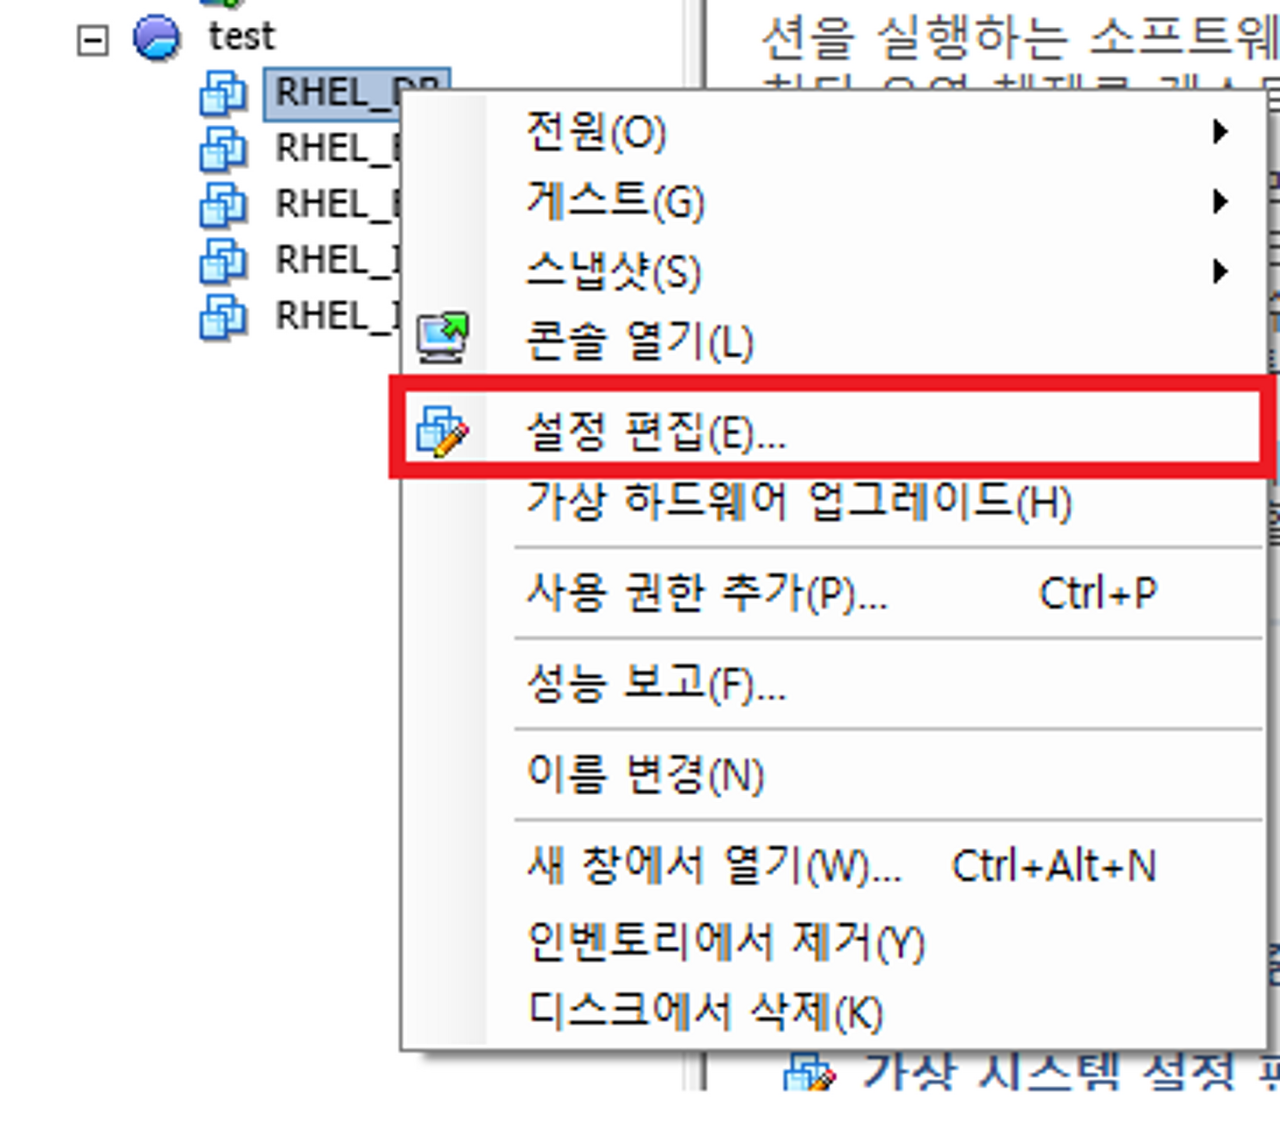
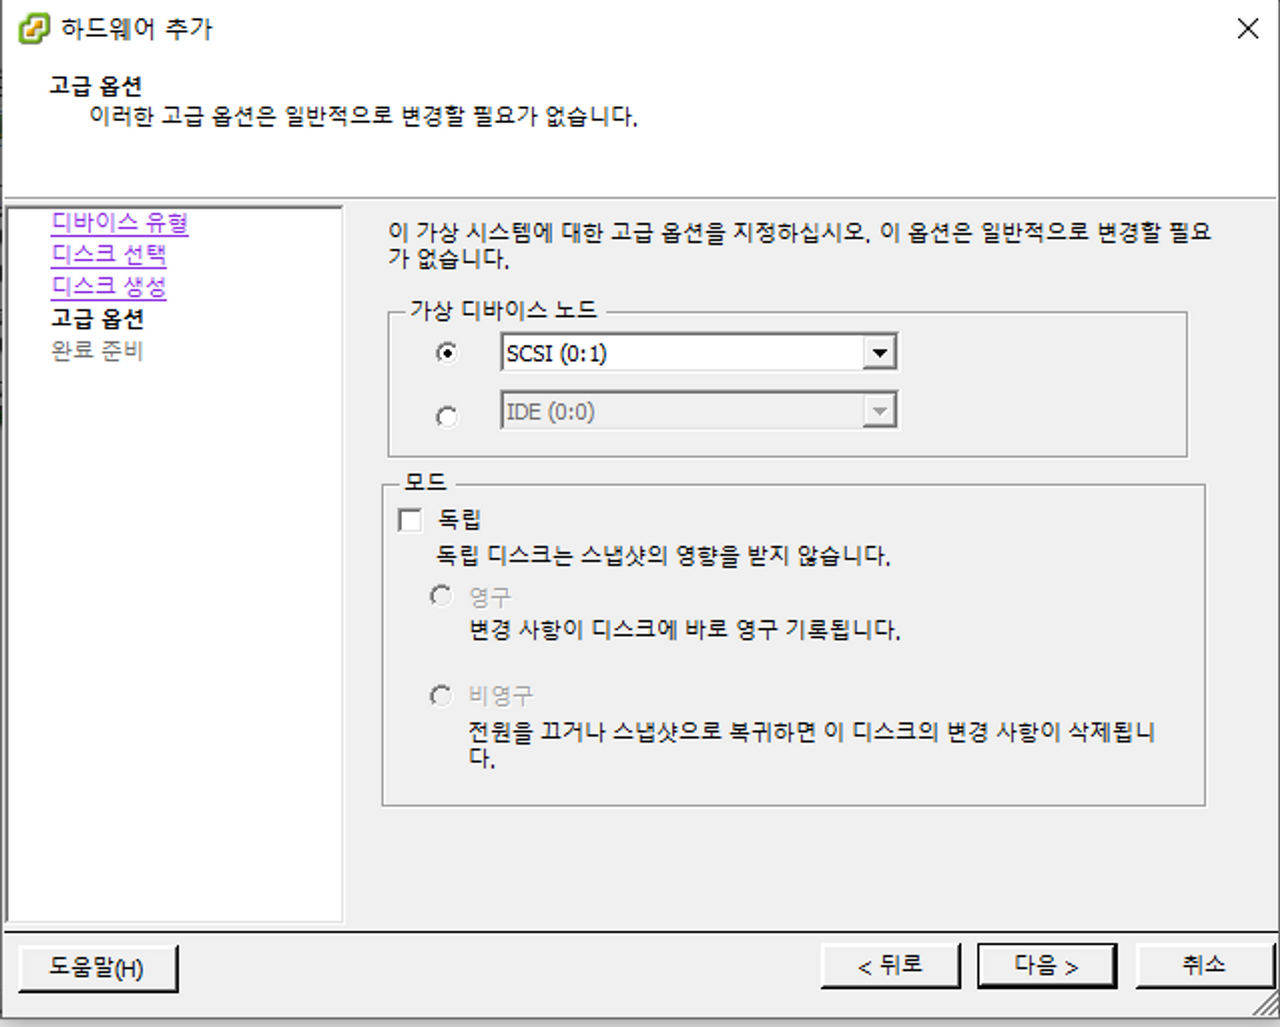
Step 1. VM 종료 후 HDD 추가
- HDD 추가를 위해 VM을 종료합니다.
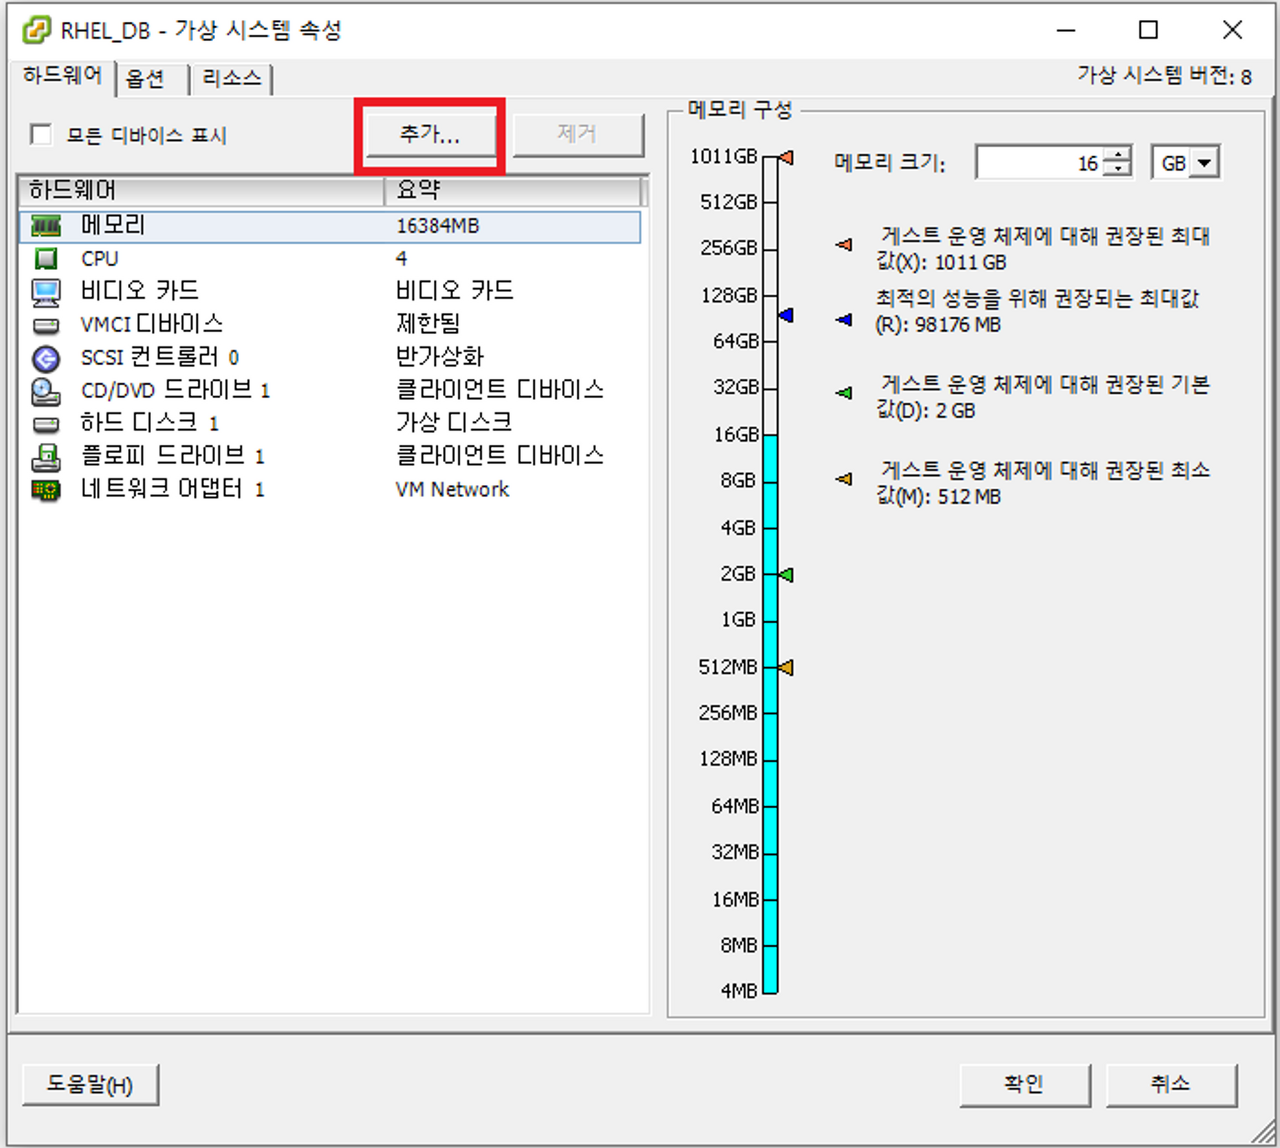
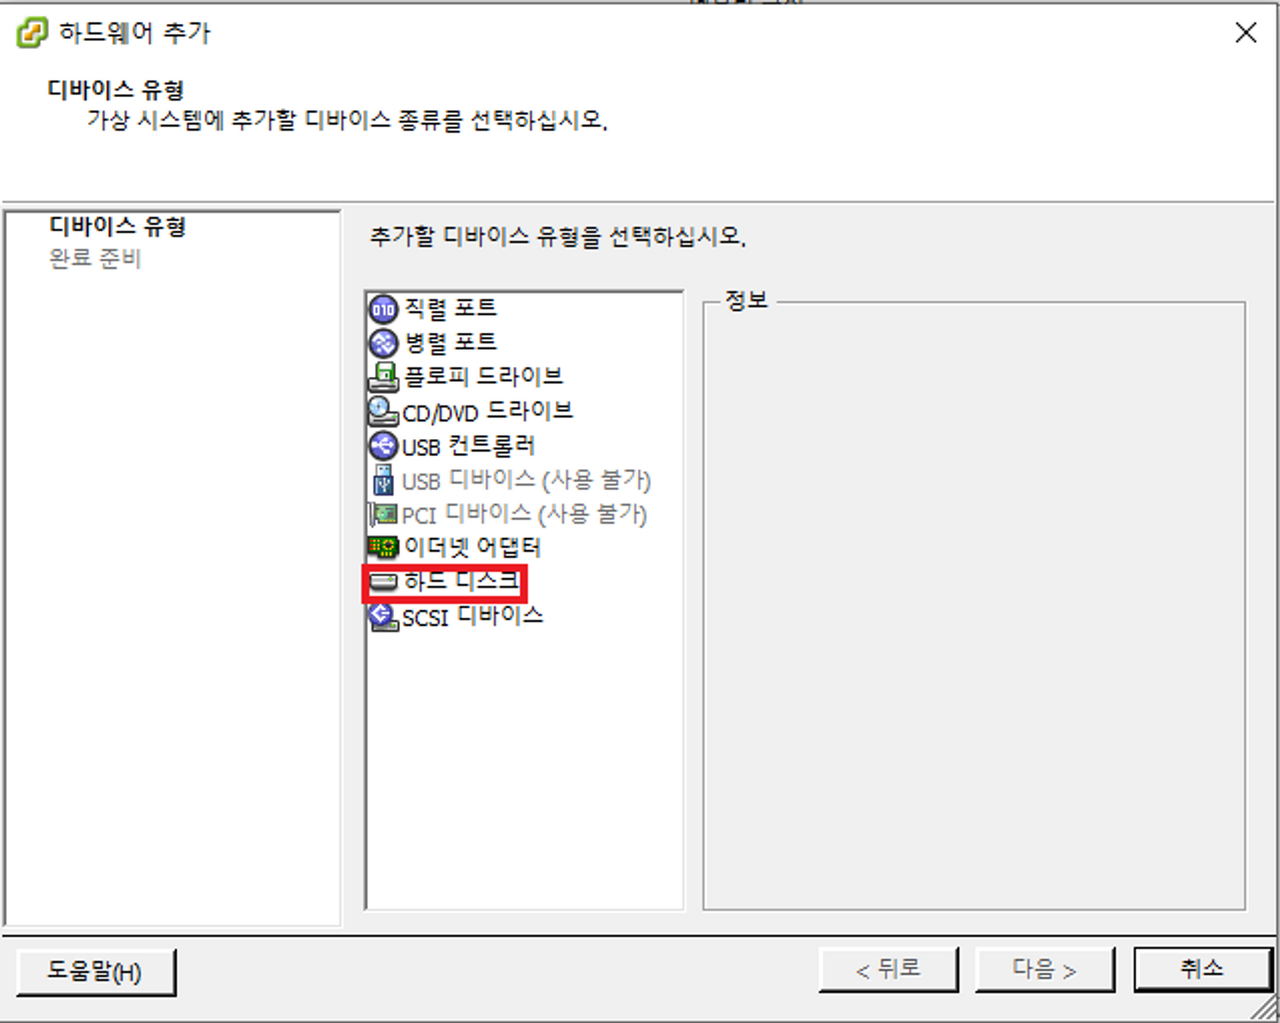
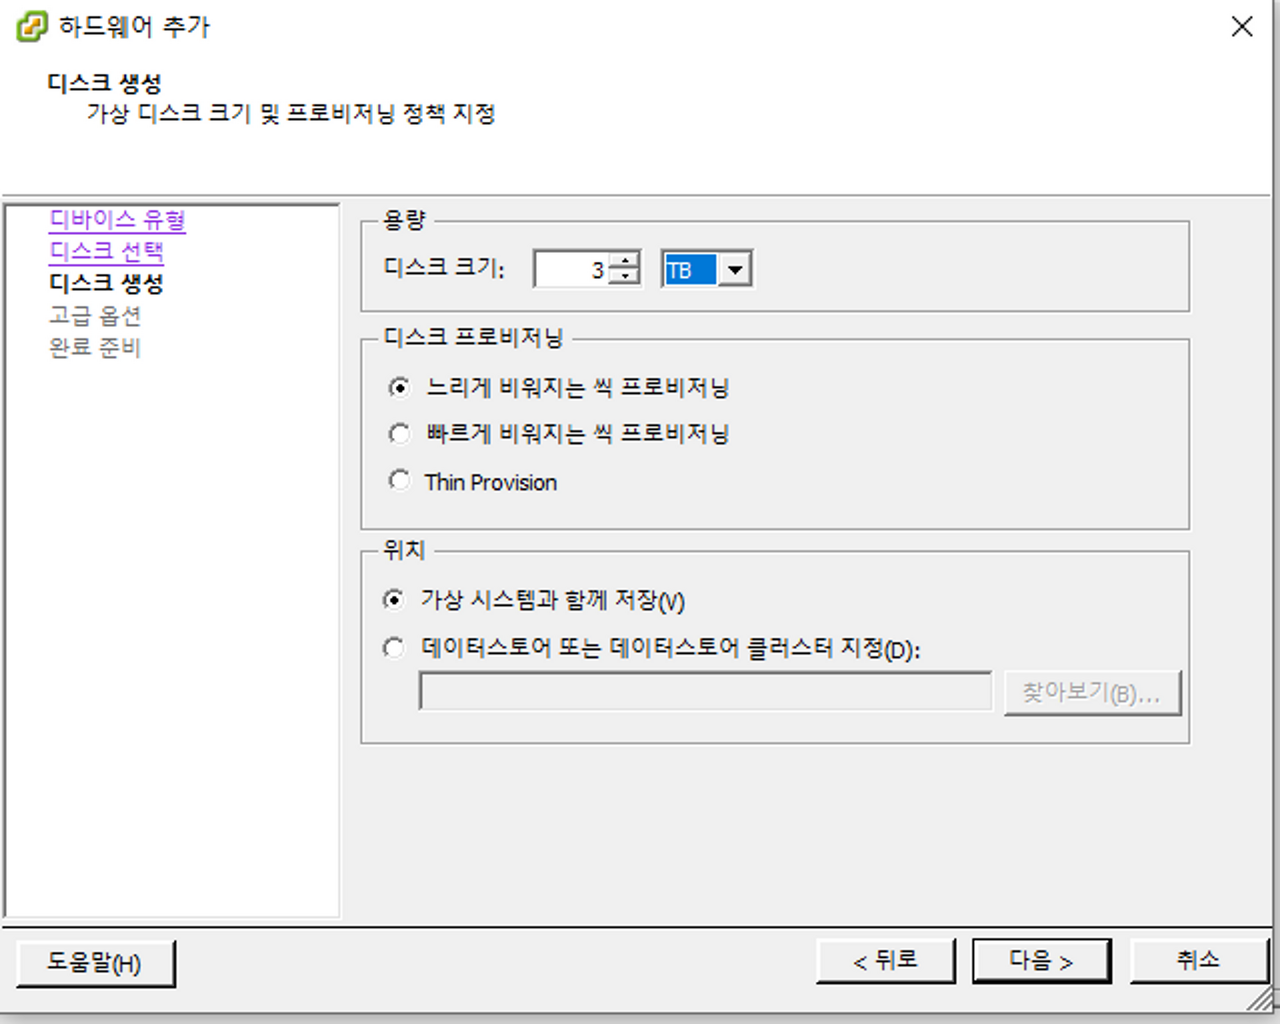
- DB 서버에 추가되어야 할 용량인 100GB, 3TB HDD를 추가 장착합니다.
# Shell
# Linux 종료 명령어
shutdown -h now
Step 2. lvm 패키지 설치
Step 3. HDD 파티션 설정(2TB 이상)
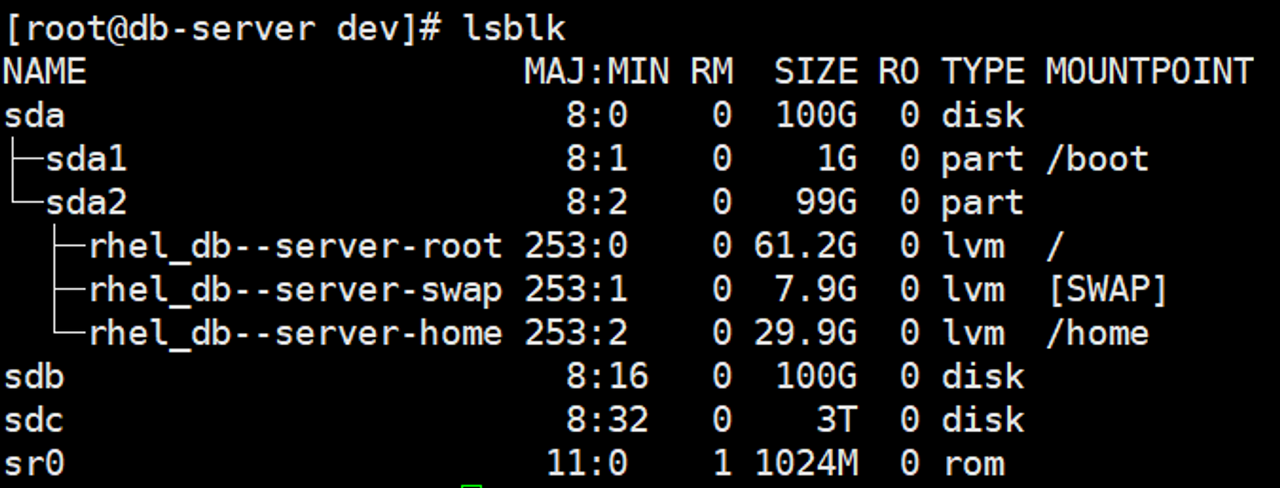
- sda, sdb, sdc는 물리적인 HDD를 의미합니다. sda는 운영체제 설치 용으로 sda1, sda2 파티션 2개로 분할되어 사용되었고, 추가 용량 설정을 위해 HDD 2개를 설치한 상태입니다.
- 아래 명령을 통해 확인 해보면 sdb = 100GB, sdc = 3TB인 것을 확인할 수 있습니다. 이번 예시는 3TB HDD를 기준으로 HDD 설정, LVM으로 프로비져닝 하여 마운트 하는 법을 정리합니다.
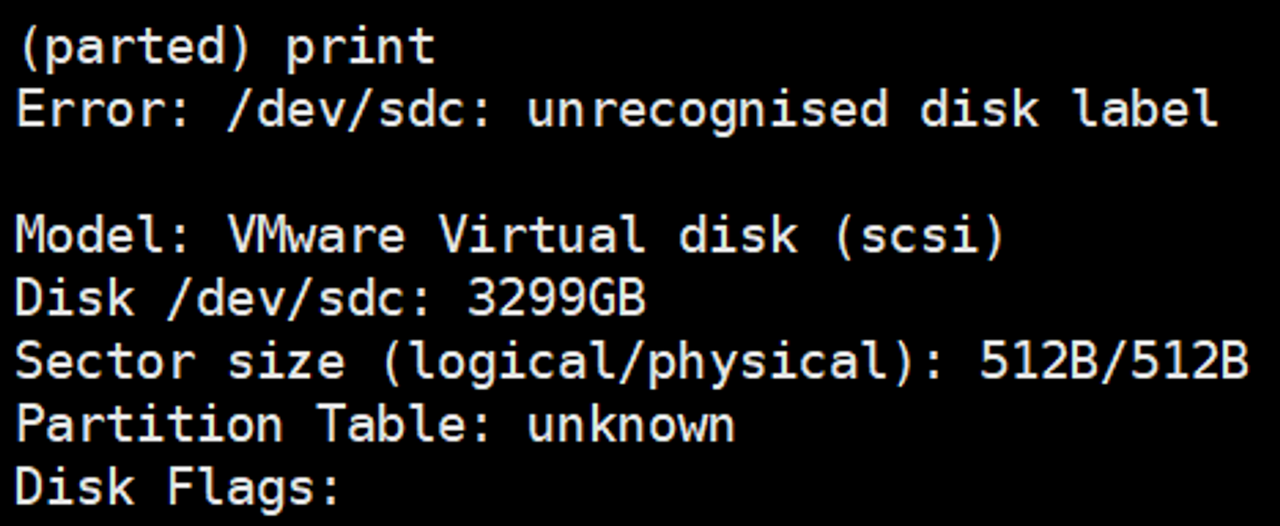
- 아래 명령어를 통해 /dev/sdc HDD의 파티션을 생성합니다.
- print 명령을 통해 현재 상태를 확인합니다. Partition Table: unknown 상태임을 확인합니다.
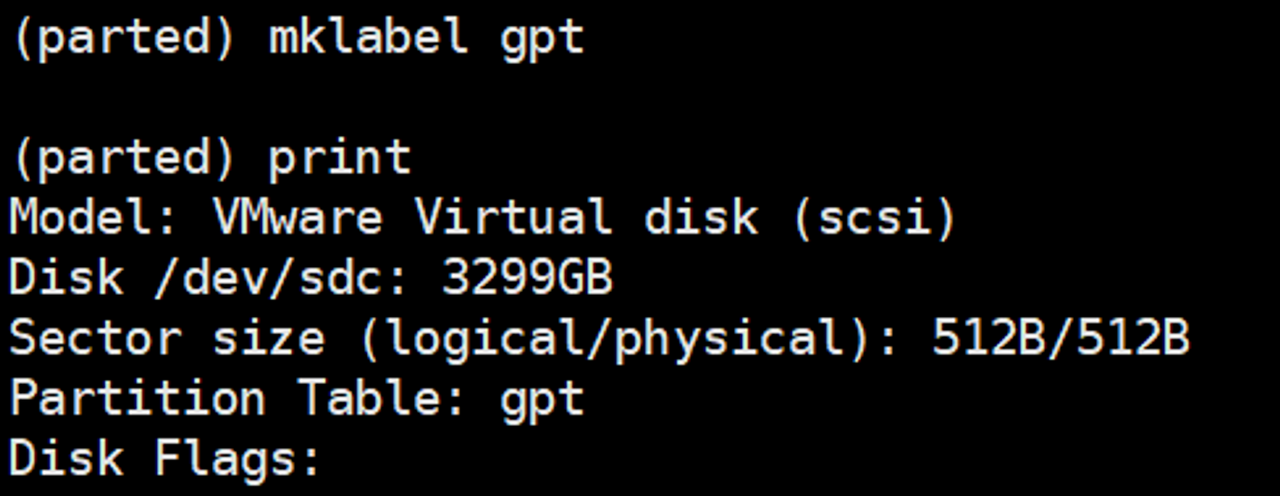
- mklabel gpt 명령을 통해 파티션을 GPT 방식으로 설정합니다.(2TB 이상의 HDD는 GPT 방식을 사용해야 합니다.)
- mkpart primary 0% 100% 명령을 통해 3TB HDD의 100% 용량을 사용하도록 파티션을 생성합니다.
- set 1 lvm on 명령어를 통해 sdc1 파티션이 lvm을 사용하도록 설정변경합니다.
- q 명령어를 통해 parted 명령을 종료하고 lsblk 명령을 통해 sdc1 이 설정 됐는지 확인합니다.
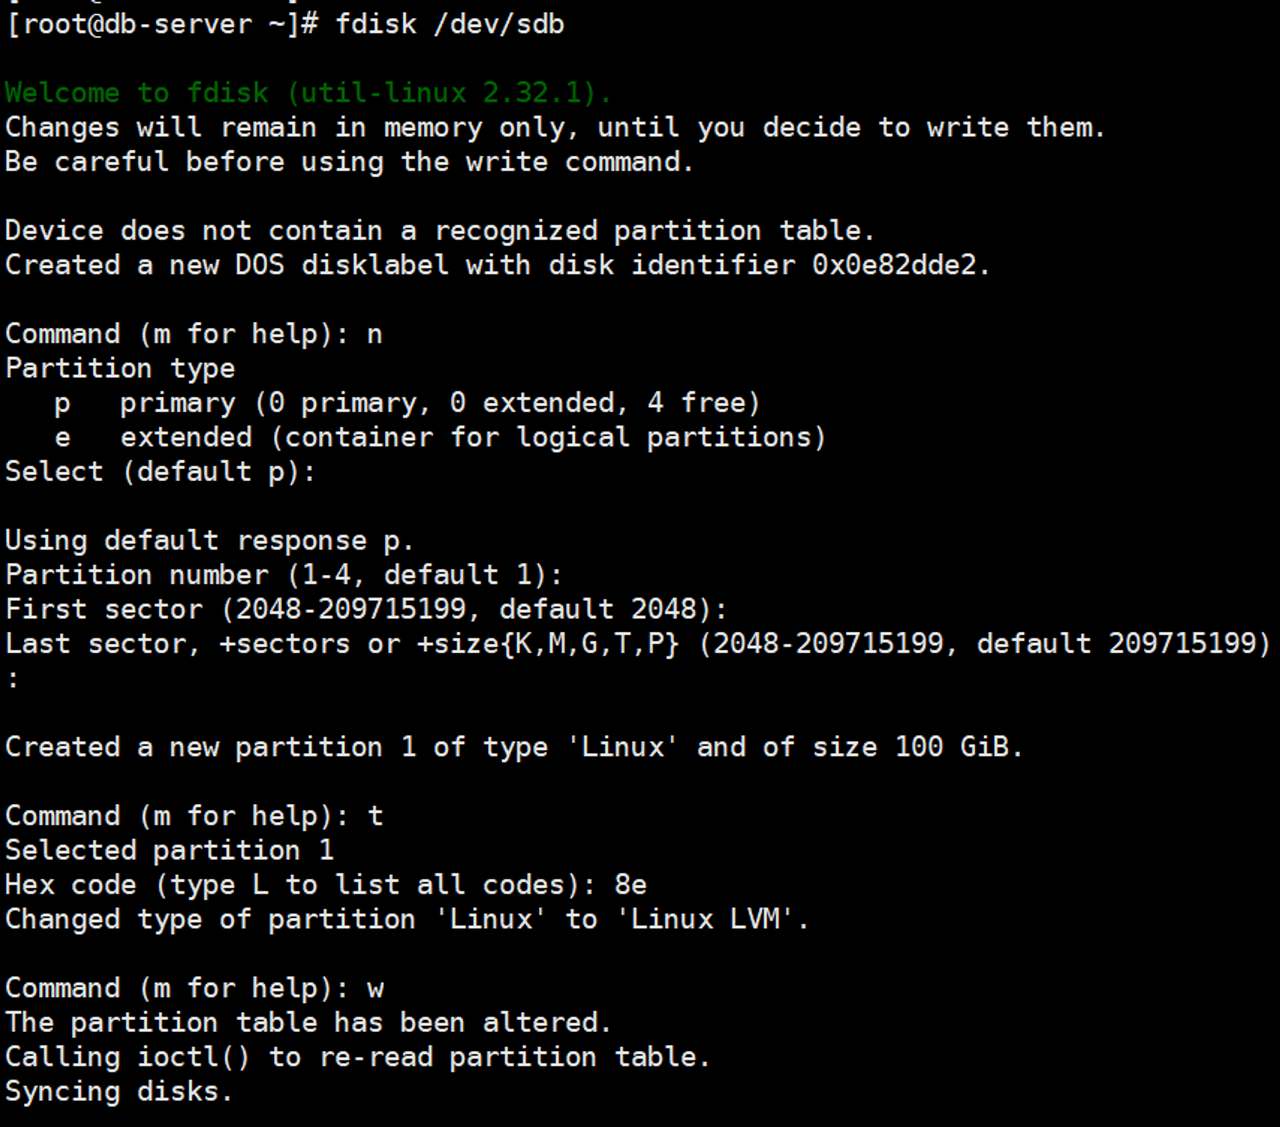
Step 3. HDD 파티션 설정(2TB 미만)
- HDD가 2TB미만인 경우 아래 절차를 통해 파티션을 생성해야 합니다.
Step 4. LVM 설정 및 마운트
- pvcreate /dev/sdc1 : 물리볼륨 생성(나머지 디스크 동일)
- vgcreate VG00 /dev/sdc1 : 볼륨그룹 생성
- lvcreate --extents 100%FREE --name LV00 VG00 : 볼륨 그룹 내 남은 용량 전부를 할당
- mkfs.ext4 /dev/VG00/LV00 : ext4 파일형식 포멧
- mkdir /data
- mount /dev/VG00/LV00 /data
- vi /etc/fstab 설정
/dev/mapper/rhel_db--server-root /                       xfs     defaults        0 0
UUID=2a1d58e9-5daa-4f49-89ff-8ffd007d5d20 /boot                   xfs     defaults        0 0
/dev/mapper/rhel_db--server-home /home                   xfs     defaults        0 0
/dev/mapper/rhel_db--server-swap none                    swap    defaults        0 0
## 아래 추가
/dev/mapper/VG00-LV00 /data                              ext4    defaults        0 0
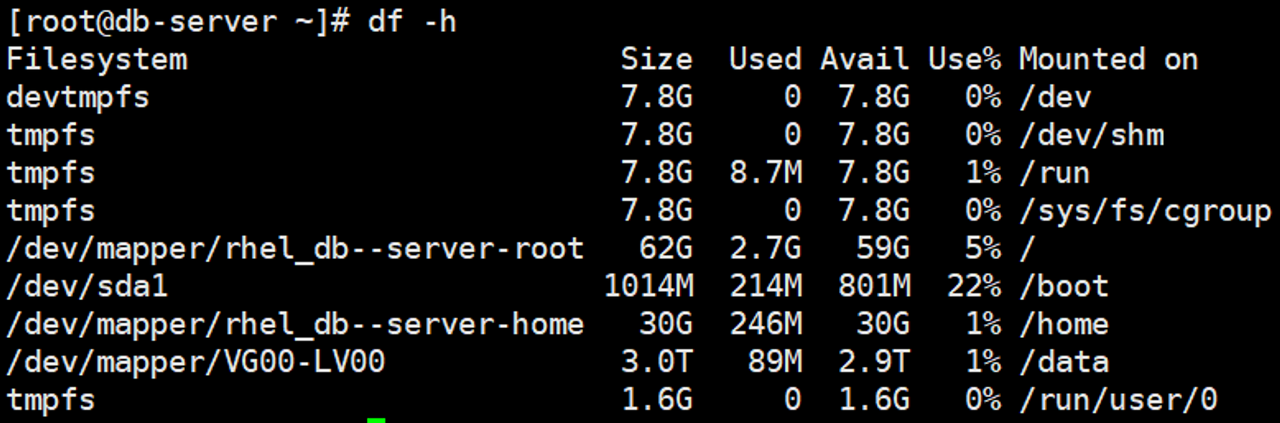
Step 5. 완료
- df -h 명령을 통해 /data 폴더에 3TB 용량이 마운트 된 것을 확인할 수 있습니다.